
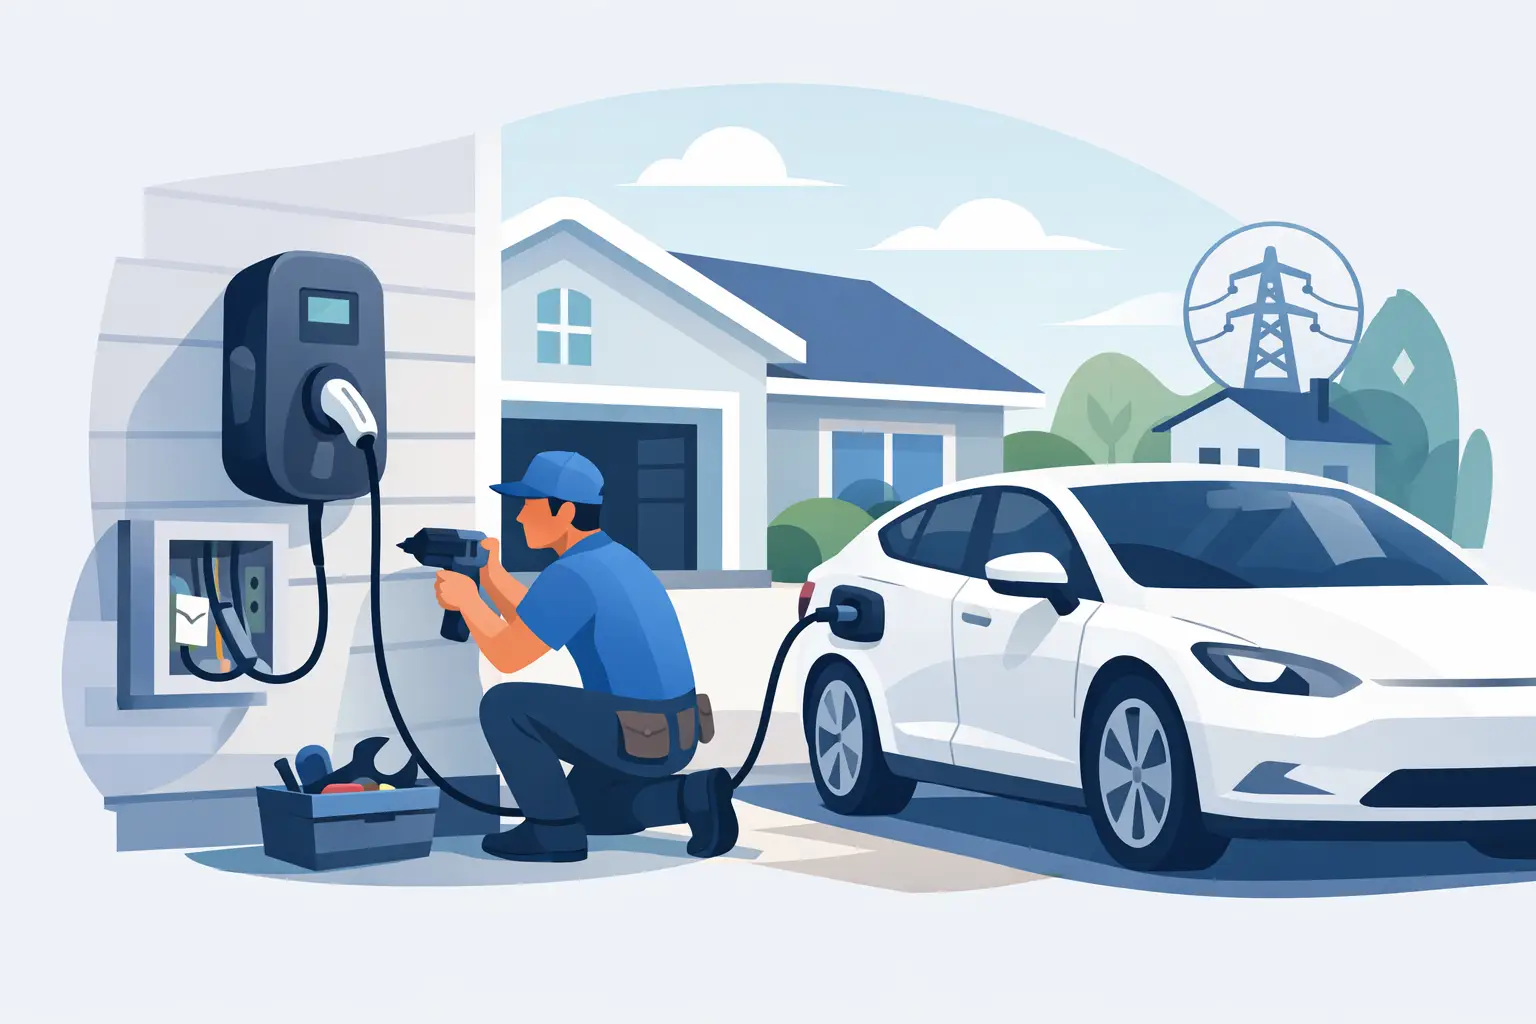
How to Install EV Charger at Home
Most EV charger projects look simple until you get to the panel. That is usually where the real decision gets made – whether your home is ready for a fast, safe installation or whether it needs electrical work first. If you are researching how to install EV charger equipment at home, the short answer is this: the charger itself is only part of the job. The circuit, panel capacity, breaker sizing, wiring path, permits, and final testing matter just as much.
For homeowners, condo owners, and property managers, that matters because charging reliability is not a luxury feature. It is part of daily use. A charger that trips breakers, charges too slowly, or was installed without the right protection can create bigger problems than it solves.
How to install EV charger the right way
The first step is choosing the type of charger you actually need. Many EV owners can charge on a standard Level 1 outlet, but that method is slow and usually best for low-mileage driving or backup use. Most people who want practical overnight charging choose a Level 2 charger, which runs on 240 volts and needs a dedicated circuit.
That dedicated circuit is where installation starts. A licensed electrician will look at your main service panel, available breaker space, total load, and the distance from the panel to the charger location. In newer homes, this can be straightforward. In older homes, or in coastal properties with additions, detached garages, or heavy HVAC loads, it can depend on how much capacity is already being used.
The charger location also matters more than people expect. It should be close enough to reach the vehicle port comfortably without creating a tripping hazard or putting strain on the cable. In a garage, that may mean side-wall placement instead of the back wall. Outdoors, the unit and wiring method need to be rated for that environment and installed with weather exposure in mind.
Start with your electrical panel
Before any charger gets mounted, the panel needs to be evaluated. A Level 2 charger typically needs a dedicated 240-volt circuit, and many models draw 32 to 50 amps. That does not automatically mean every home needs a service upgrade, but it does mean the panel has to support the added load safely.
There are a few possible outcomes. The best-case scenario is open breaker space and enough service capacity for a new circuit. The next possibility is that the panel can still support the charger, but load calculations show that the charger output should be set lower. The more involved situation is when the home needs a subpanel, panel replacement, or service upgrade before EV charging equipment can be added.
This is one of those areas where DIY assumptions can get expensive. A panel that appears to have room may still be near its practical limit. If your home already has an electric water heater, range, dryer, pool equipment, or multiple air conditioning systems, that demand has to be accounted for.
Permits, code, and why they matter
A proper EV charger installation is not just about making the charger turn on. It has to meet current electrical code, use the correct breaker and wire size, and be installed in a way that protects both the home and the user.
In most cases, a permit is part of the process. That protects the property owner because the work is documented and inspected. It also matters later if you sell the property, file an insurance claim, or need proof that the charger was installed correctly.
For condo owners and commercial properties, there can be another layer of approval. HOA rules, parking assignments, common-area electrical systems, and metering arrangements can all affect the design. What works in a single-family garage may not work in a shared parking structure.
Hardwired vs plug-in chargers
One of the biggest choices in how to install EV charger equipment is whether the unit should be hardwired or plugged into a 240-volt receptacle. Both can work, but they are not interchangeable in every situation.
A plug-in charger offers flexibility. If the receptacle is installed correctly and the charger is compatible, you may be able to replace or move the unit more easily later. That said, the receptacle itself has to be the right type, rated for the load, and installed on a dedicated circuit.
A hardwired charger is often the cleaner and more permanent solution. It removes the extra connection point, can be a better fit for outdoor installations, and is preferred by many manufacturers for higher-amperage charging. For homes exposed to heat, humidity, and salt air, the installation method and equipment rating deserve careful attention.
The right answer depends on the charger model, the location, and the long-term plan for the property.
The basic installation process
Once the charger size and location are confirmed, the actual installation follows a clear sequence. The electrician calculates the load, confirms the circuit requirements, secures any permit, and plans the wiring route from the panel to the charger location. That route may run through a garage, attic, crawl space, exterior wall, or conduit depending on the property layout.
Next comes breaker installation, wire pull, mounting, and connection. If the charger is hardwired, the conductors are terminated inside the unit according to manufacturer specifications. If it is plug-in, the receptacle is installed and tested before the charger is connected.
After that, the charger settings may need to be configured. Many modern units allow output adjustment, scheduled charging, Wi-Fi setup, and app pairing. Those features are convenient, but they come after the electrical work is done correctly. The final step is testing the charger under load to confirm that voltage, breaker performance, and charging operation are all working as intended.
What can change the cost
The charger itself is only one piece of the total price. Installation cost usually depends on circuit size, wiring distance, panel condition, wall access, permit requirements, and whether upgrades are needed.
A straightforward garage installation close to the panel will cost less than a detached garage run, an outdoor pedestal setup, or a project that requires trenching. If the panel is full or undersized, the scope can grow quickly. That is why estimates for EV charger installation can vary so much from one property to the next.
For some homeowners, it makes sense to plan the charger installation alongside other upgrades, such as a panel replacement, surge protection, or generator connection work. Bundling related electrical improvements can be more efficient than handling each project separately.
Common mistakes homeowners try to avoid
The most common mistake is assuming any 240-volt outlet can support an EV charger. That is not always true. Circuit sizing, breaker type, wire gauge, and continuous load rules all matter.
Another issue is choosing charger size based on maximum speed rather than actual need. A larger charger is not always better if the vehicle cannot use the full output or if the home electrical system would need major upgrades just to support it. For many households, a moderate Level 2 setup delivers more than enough overnight charging without pushing the electrical system harder than necessary.
Placement mistakes are common too. A charger installed in the wrong spot can leave cords stretched across the garage, exposed to damage, or awkward for daily use. Good installation is not just code-compliant. It should also be convenient enough that you want to use it every day.
When a professional install makes the most sense
If the project involves a new 240-volt circuit, panel work, permit requirements, outdoor mounting, or service capacity questions, this is professional electrical work. EV chargers are high-demand devices, and the installation needs to be treated that way.
A licensed electrician can tell you whether your panel can support the charger, whether a lower-amperage setup would be smarter, and whether your property needs additional upgrades before the charger goes in. That helps you avoid paying for equipment that your electrical system cannot support properly.
For homes and properties in Gulf Shores and nearby coastal areas, the local environment also matters. Heat, moisture, storm exposure, and corrosion risk can influence equipment selection and installation details, especially for outdoor chargers and shared-use properties.
If you want home charging to be simple, the installation has to be done with the same mindset. Get the load calculation right, install the right circuit, and choose a charger setup that fits how you actually drive. A well-installed EV charger should feel uneventful – just plug in at night and know it will be ready in the morning.